How to Make a Jelly Roll Rug: A Step-by-Step Guide
If you’re looking for a fun and practical sewing project, a jelly roll rug might be just what you need. Made from strips of fabric, these rugs are perfect for adding a touch of charm to any room. This is a great project that will help you gain confidence on your sewing machine. You'll be spending hours on it, and trust me, it'll be so worth it. Follow this tutorial to create your very own jelly roll rug.
What You’ll Need
Materials:
- One jelly roll (40 strips of 2.5-inch-wide cotton fabric, each 42 inches long or approximately 6.4 cm wide and 107 cm long). Alternatively you can cut your own strips: 2.5" x 42" / 6.4 cm x 107 cm.
- Batting strips (2.5 inches or 6,35 cm wide)
- Thread matching your fabric
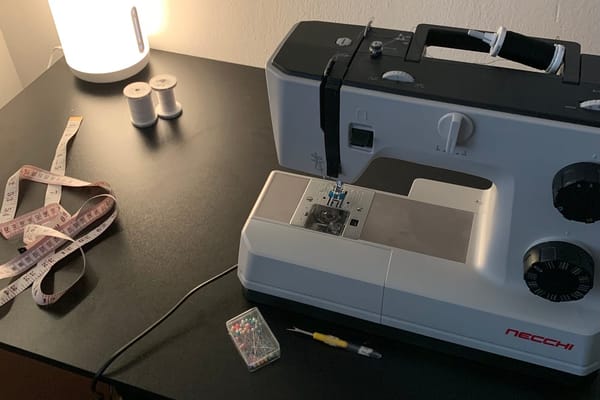
Tools:
- Sewing machine
- Size 14/90 needle for sewing through thick layers
- Scissors or rotary cutter
- Pins or clips
- Iron


Step 1: Prepare Your Fabric
- Prewash Your Fabric: If you’re using a jelly roll, prewashing is optional, but it’s a good idea to ensure the fabric doesn’t shrink later.
- Press the Strips: Iron each strip to remove any wrinkles and make them easier to handle.
Step 2: Join the Fabric Strips
- Sew the Strips Together: Take two strips and place them right sides together at a 90-degree angle. Sew diagonally from one corner to the other to join them. Repeat this process until all the strips are joined into one long piece.
- Press the Seams: Open up the seams and press them flat to reduce bulk.
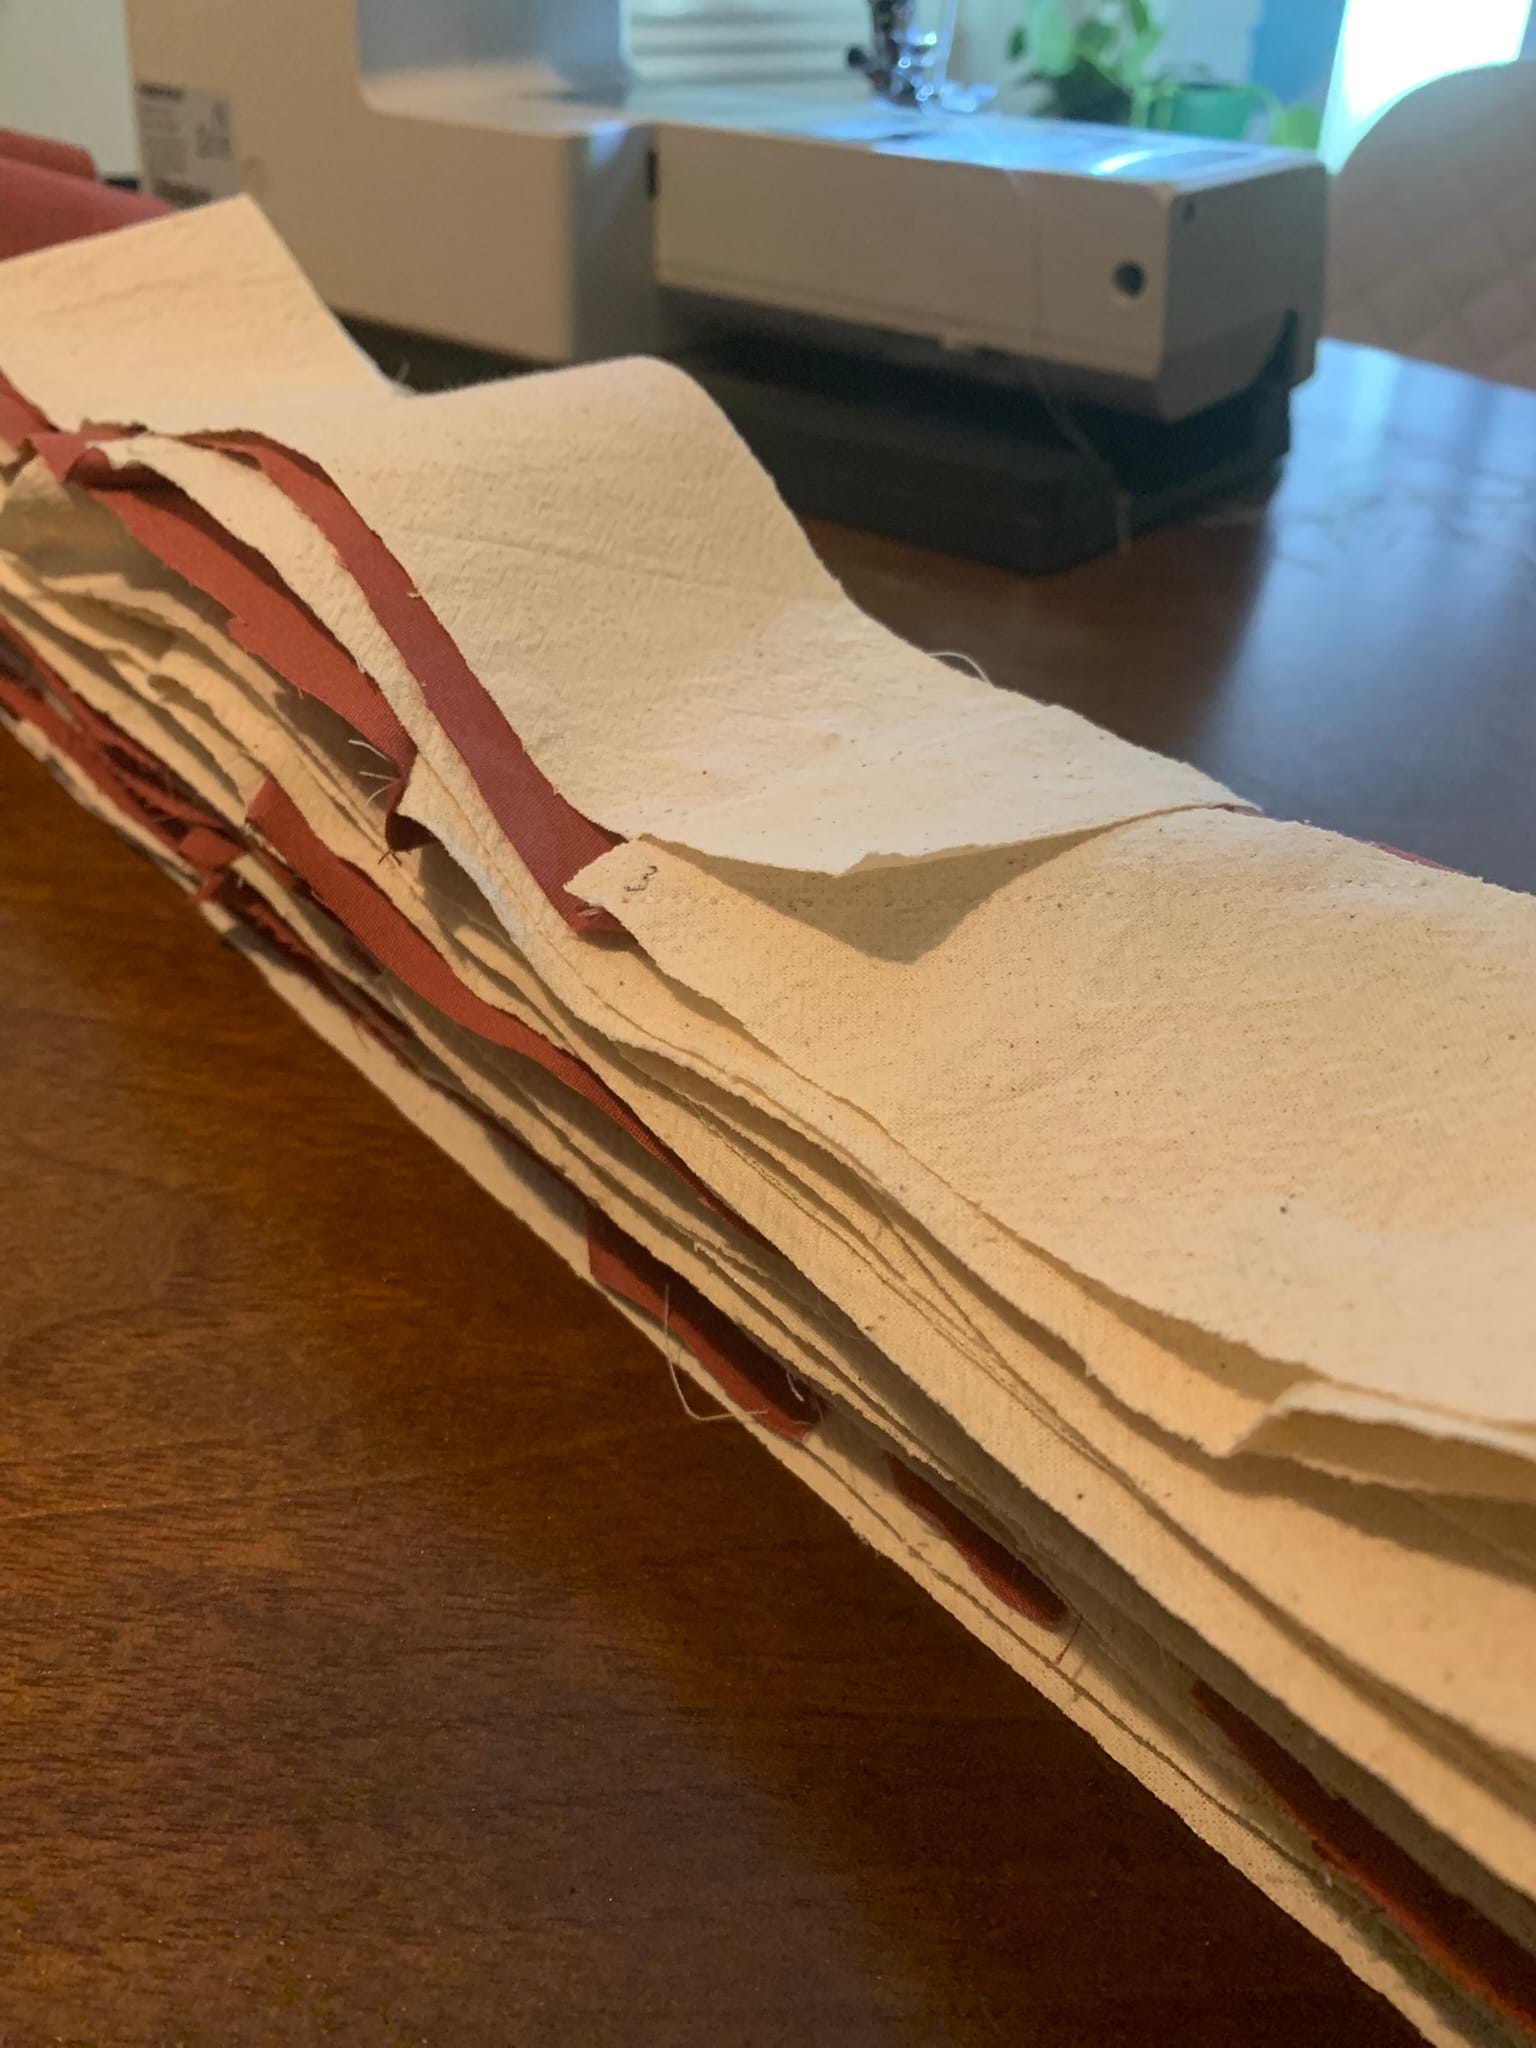
Step 3: Create the Fabric Tube
- Add Batting: Lay a strip of batting (or wadding) inside the folded fabric for extra padding. Fold the fabric lengthwise, enclosing the batting, and clip it in place.
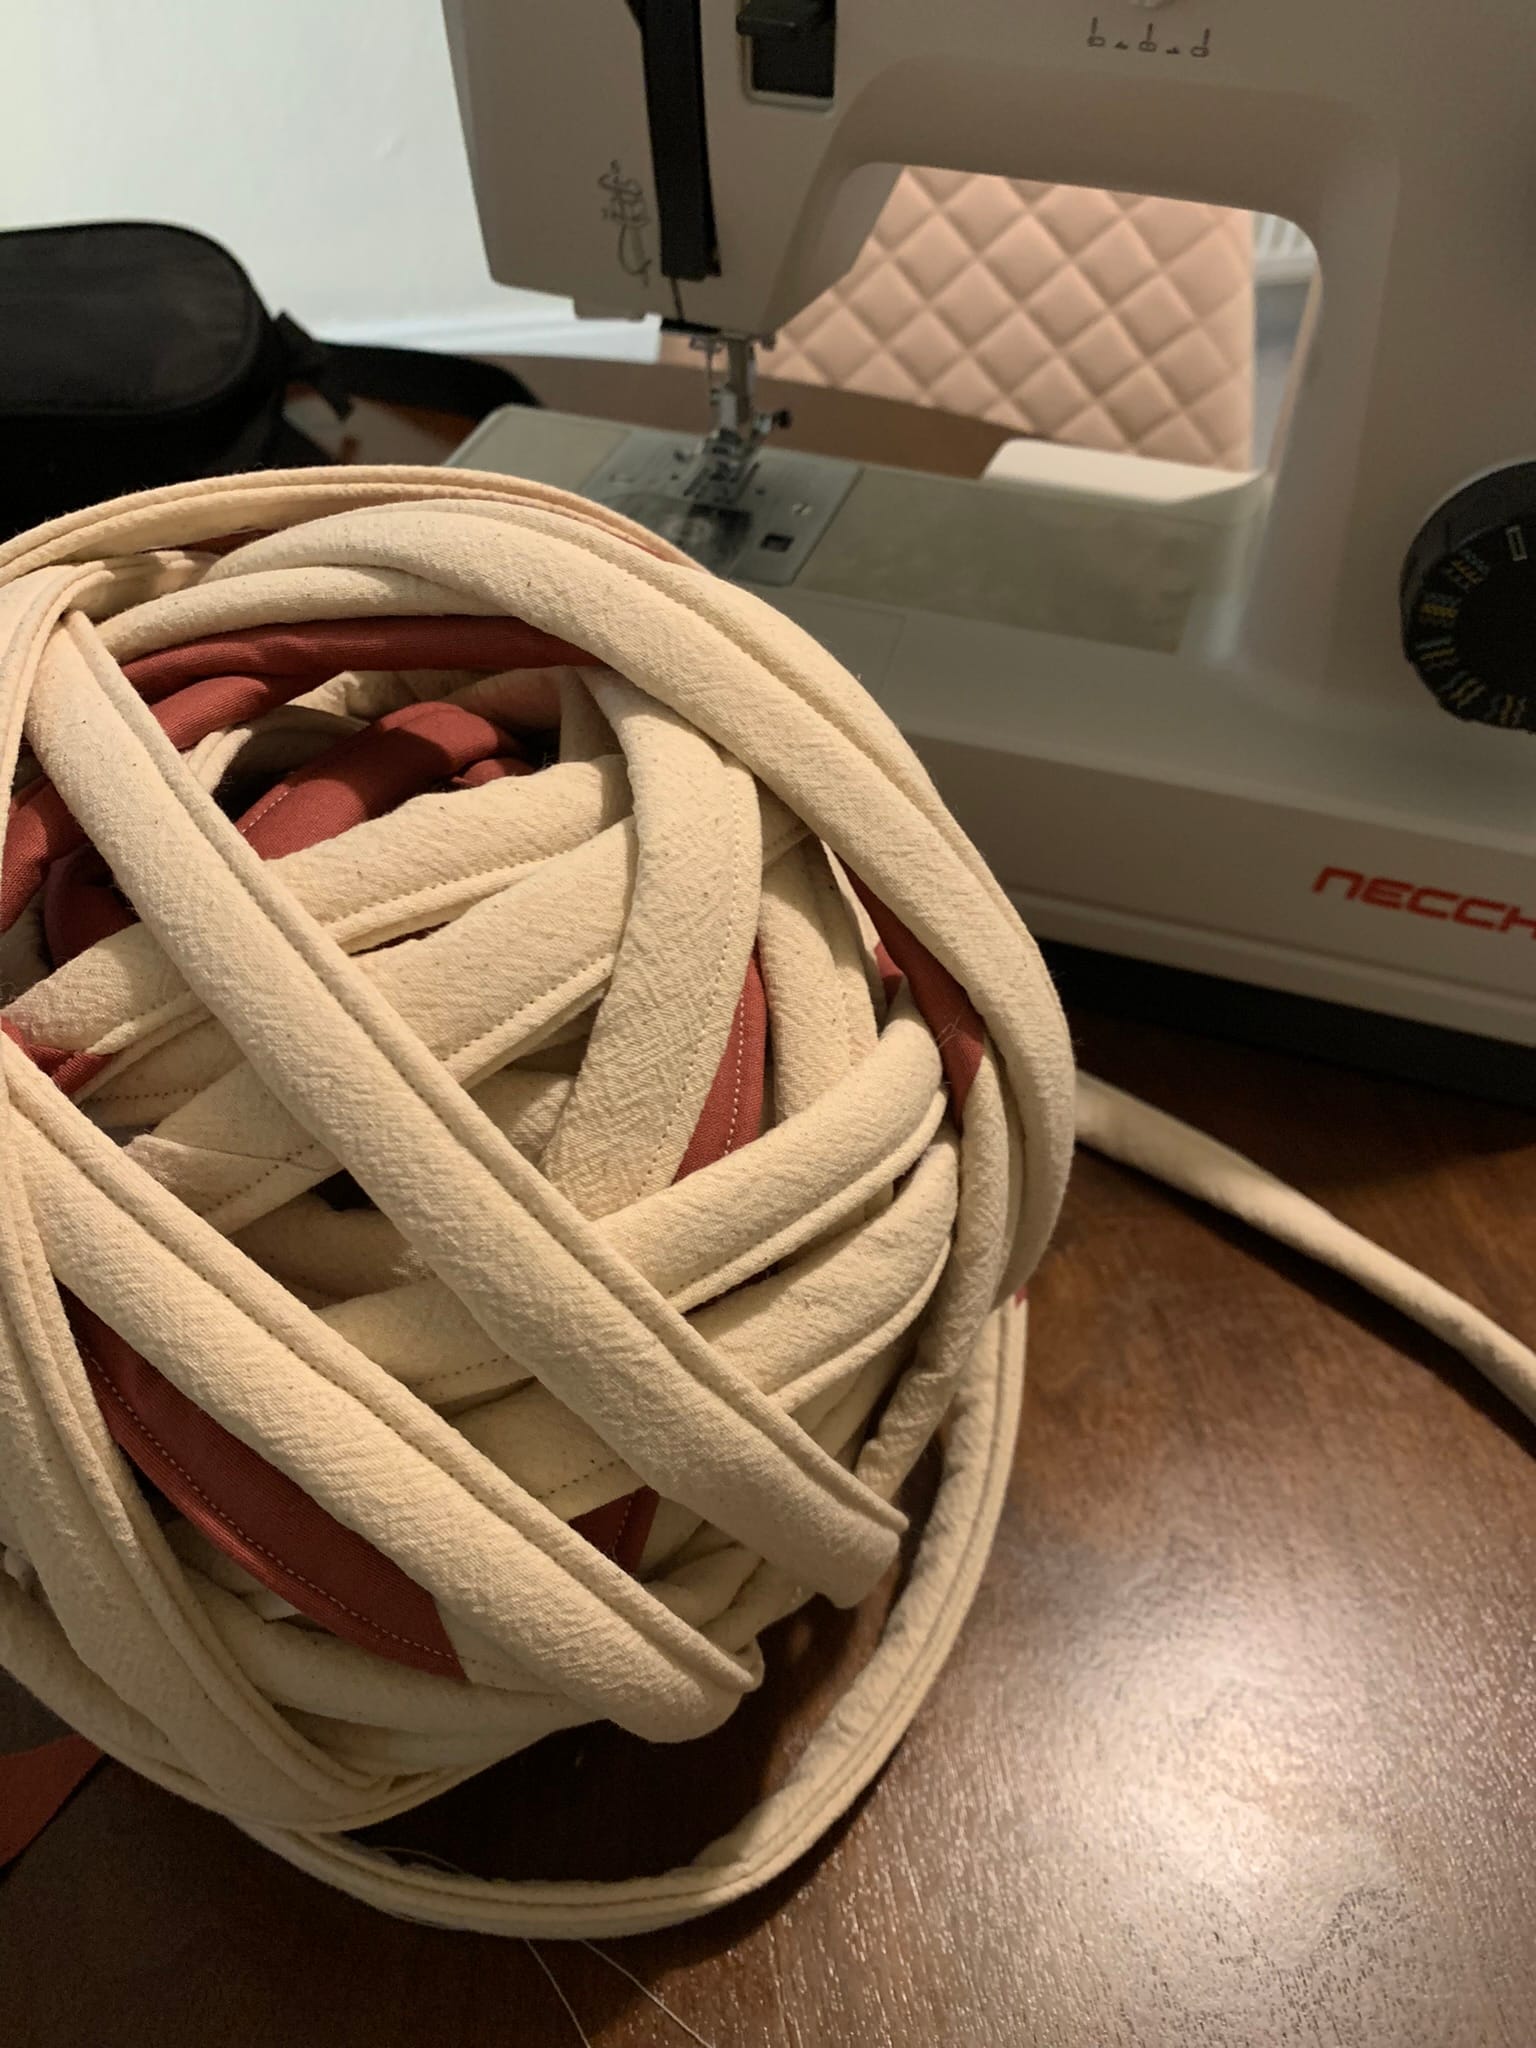
- Sew the Tube: Stitch along the open edge of the folded fabric to close the tube. Use a straight or zigzag stitch, depending on your preference. Continue until the entire length of fabric is sewn into a single tube. I find it really helpful to shape a ball to store this long tube.
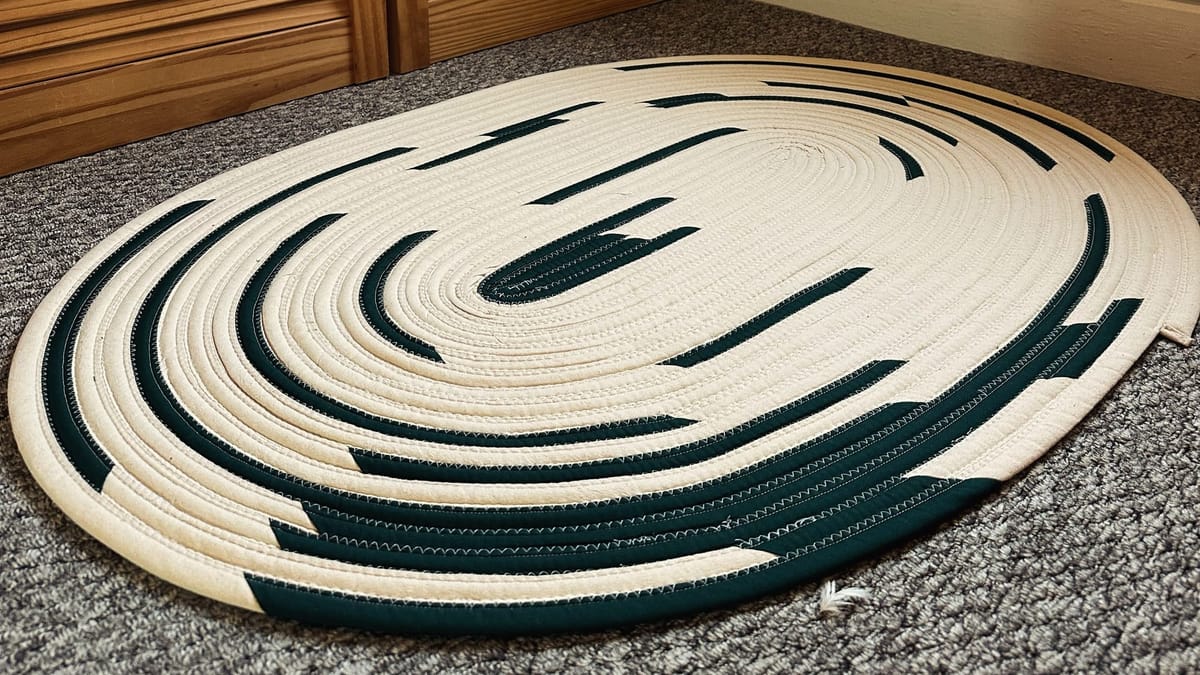
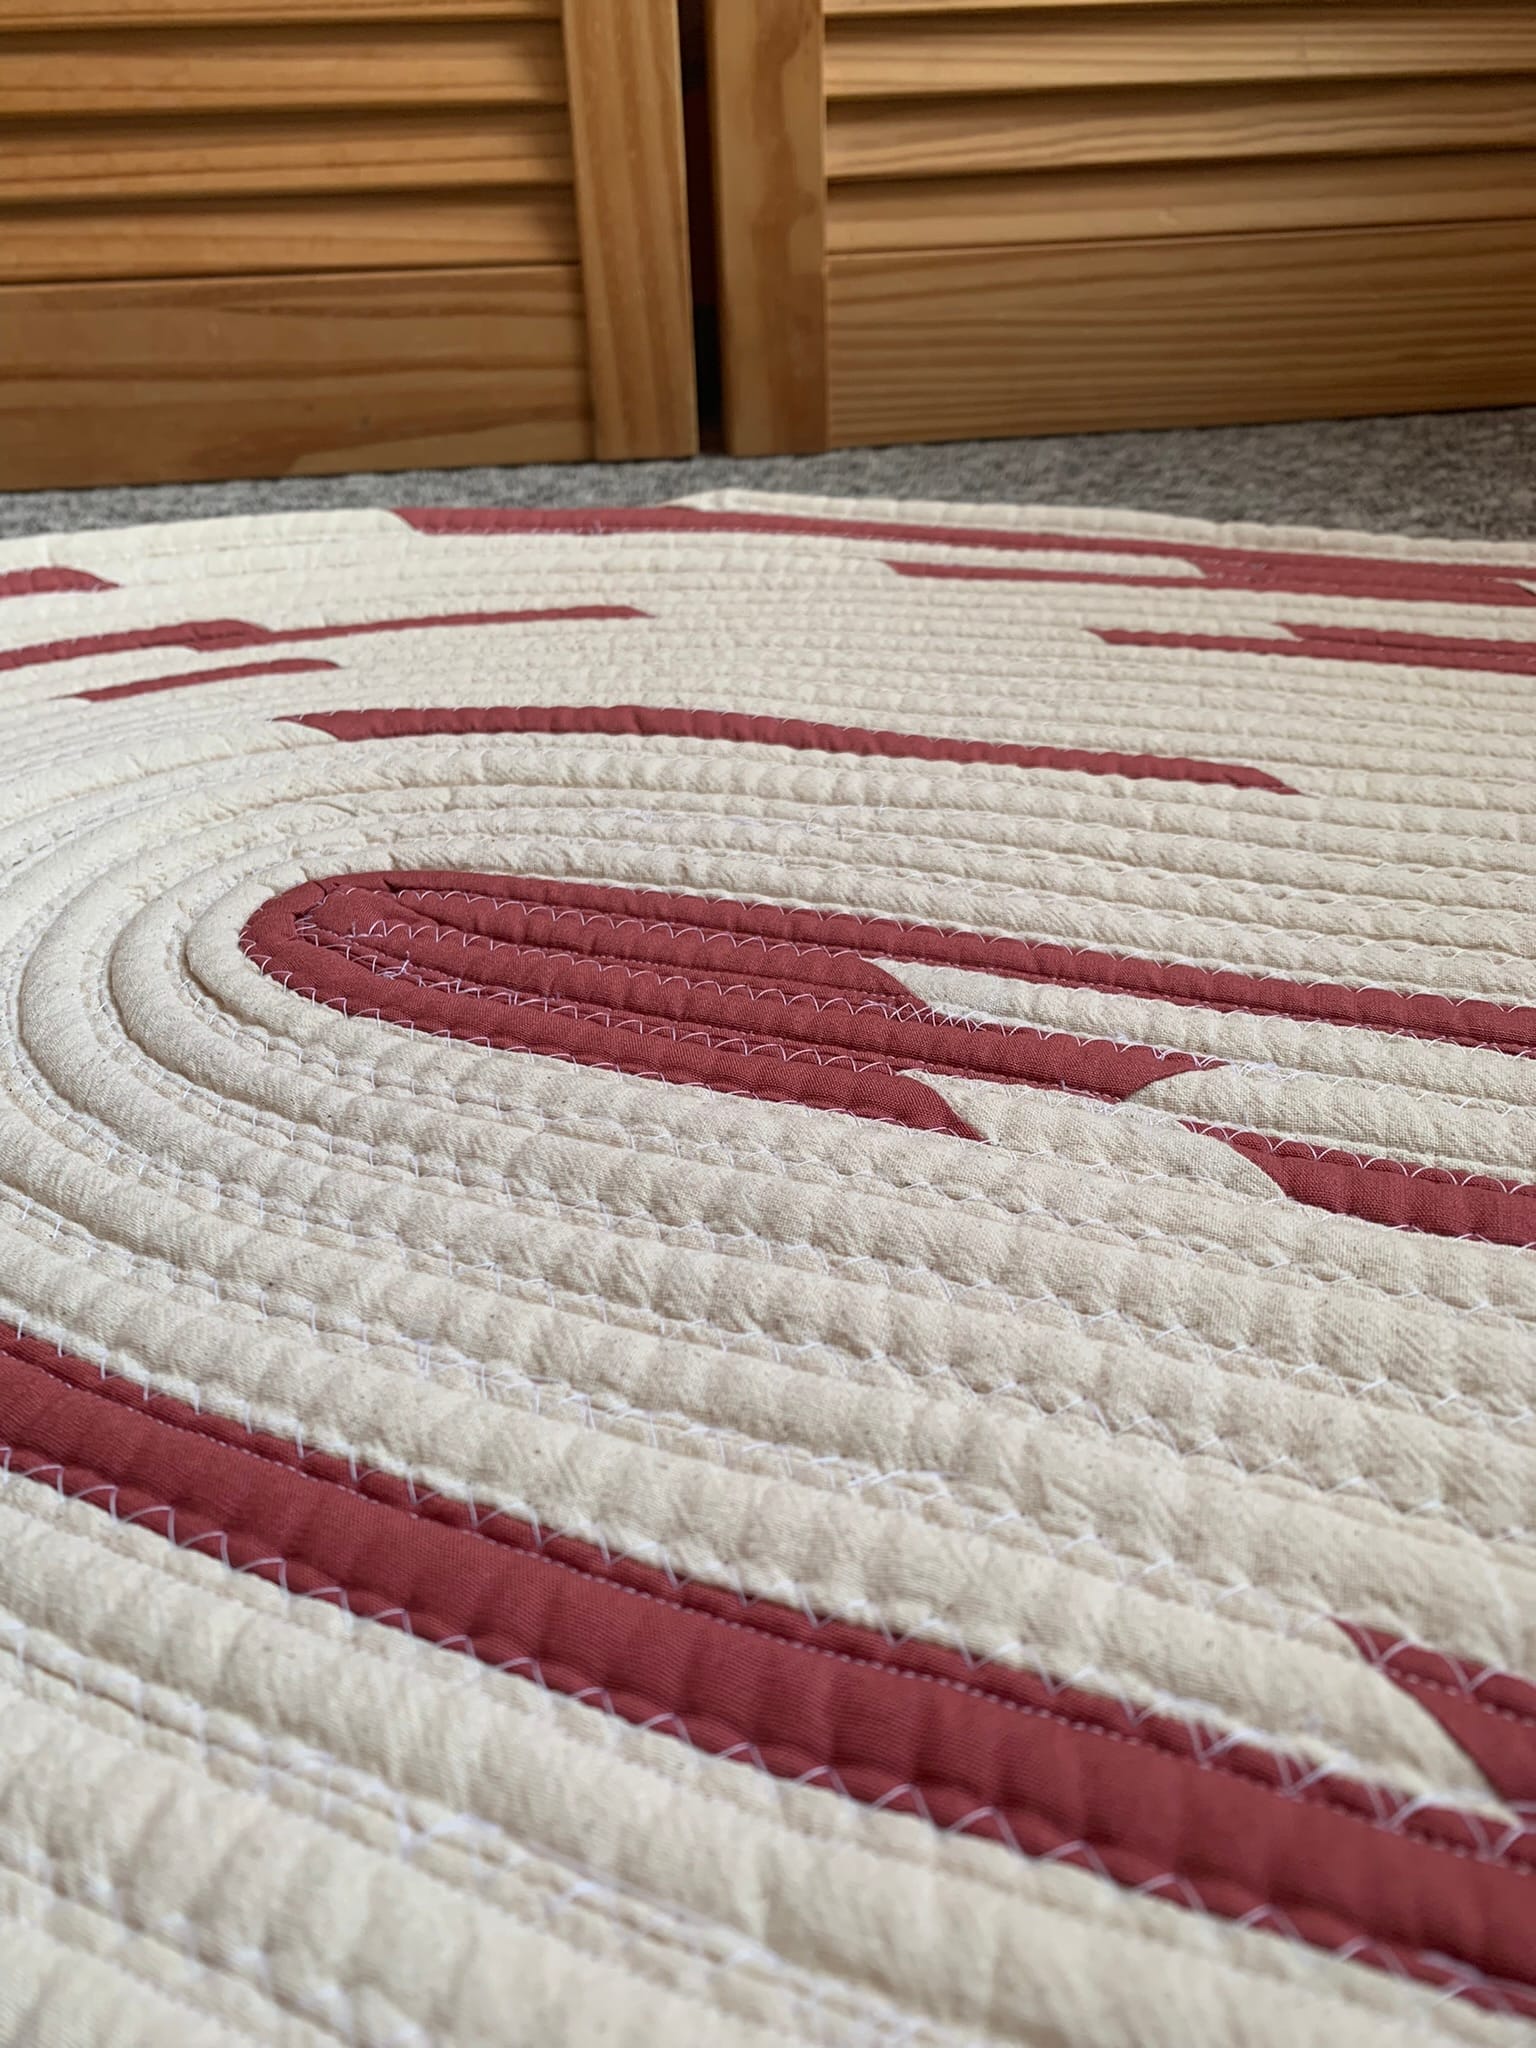
Step 4: Roll and Shape the Rug
- Start Coiling: Roll one end of the tube tightly to form the center of the rug. Secure it with clips or pins.
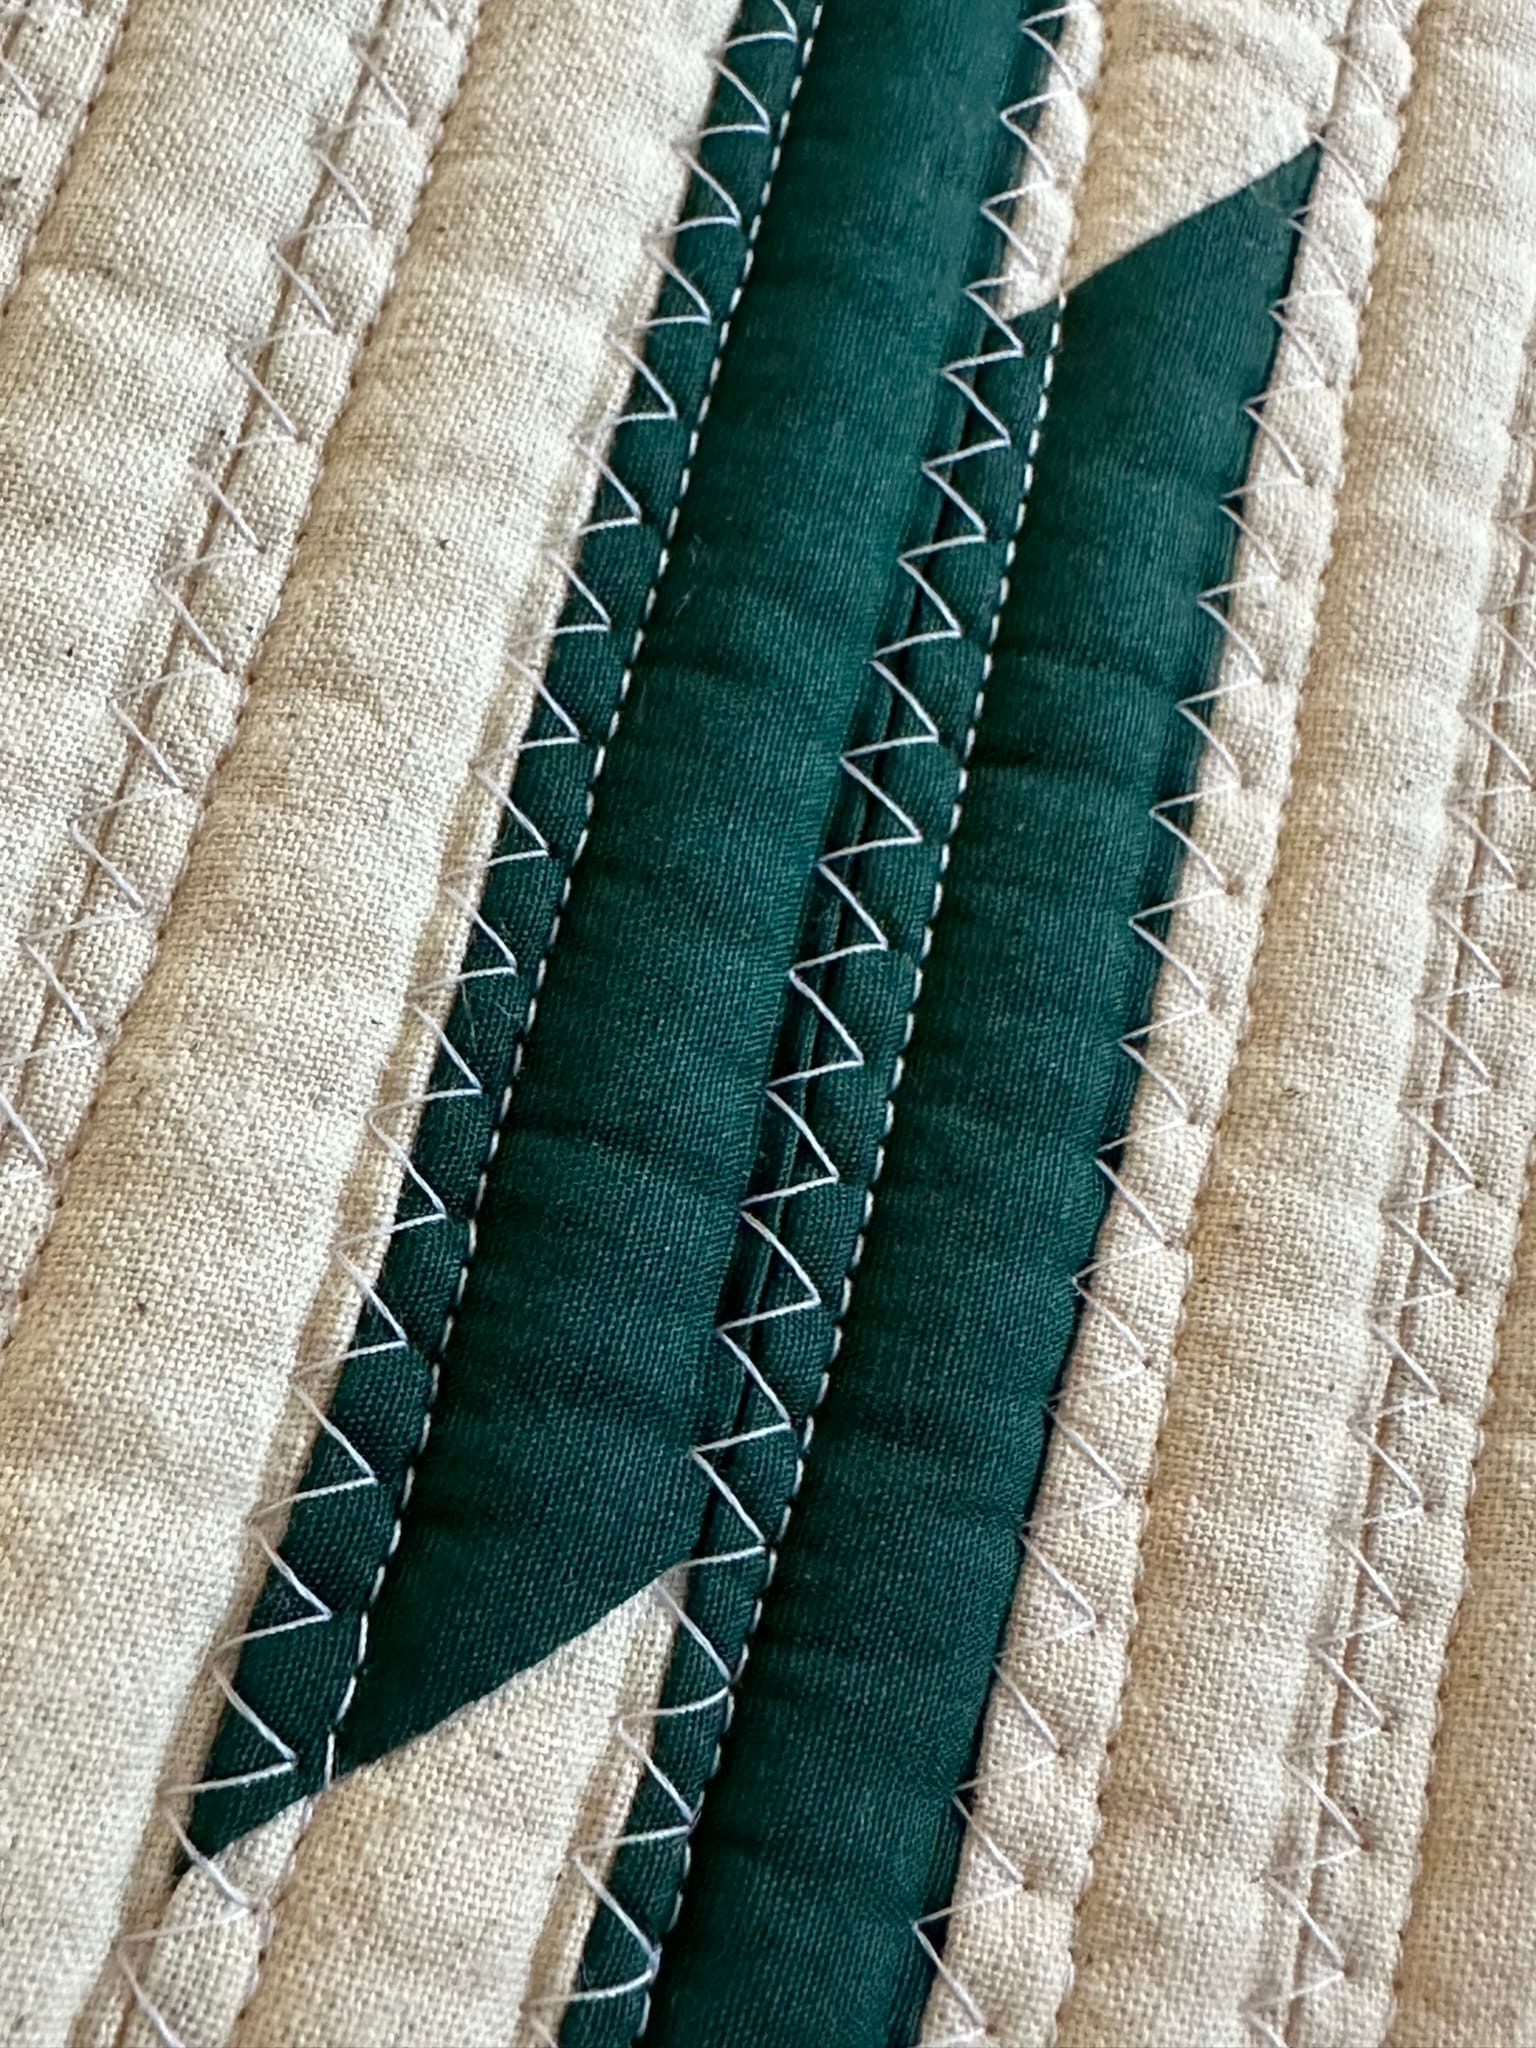
- Sew as You Go: Using a zigzag stitch, sew the edges of the coil together. Keep the stitches centered where the tubes meet. Take your time and adjust the coil frequently to maintain an even shape.
- Continue Adding Coils: Gradually add to the coil by sewing in a circular or oval shape, depending on your desired rug style. Make sure the fabric tubes are snugly stitched together.
Step 5: Finish the Rug
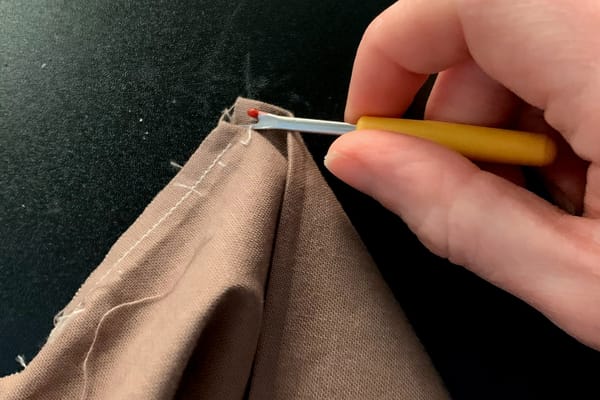
- Secure the Final End: Tuck the raw edge of the last fabric strip under and stitch it securely to prevent fraying.
- Press and Shape: Use an iron to press the finished rug and help it lay flat. You can use a steam setting to smooth any wrinkles.
Tips for Success
- Work Slowly: Sewing through thick layers can be tricky, so take your time to ensure neat stitches.
- Test Your Stitches: Before sewing the actual rug, test your zigzag stitch on a scrap piece of fabric. Adjust the width and tension to ensure it’s wide enough to secure the coils but not too tight.
- Press, and Press Again: If you want to get the best results, I would really recommend pressing after you sew each turn. This ensures that seams lie flat, the fabric stays smooth, and your finished rug looks polished.
- Add a Table Extension to your Machine: If you're lucky enough to have a table that comes with your sewing machine, please use it - you won't regret it! I don't usually use that extension, but trust me, when I'm working on this project, it's an absolute must. The bigger your rug, the heavier it gets, so it's really important to make sure you've got a sturdy surface to work on. The weight can pull your rug down and your stitches might lose their regular shapes. So, if you can, try to keep your rug flat by using the table extension. If you don't have a table extension, no worries! You can always use a pile of books instead.
- Check Your Bobbin: Sewing a jelly roll rug uses a lot of thread, so make sure your bobbin is full before starting a long section. Keeping an extra bobbin ready can save time. I know we've all been there, right? That feeling of dread when you realise the bobbin's run out just as you thought you'd finished sewing a long section.
- Experiment with Colors: Jelly rolls come in a variety of colors and patterns, so have fun creating a rug that matches your decor.
About My Project
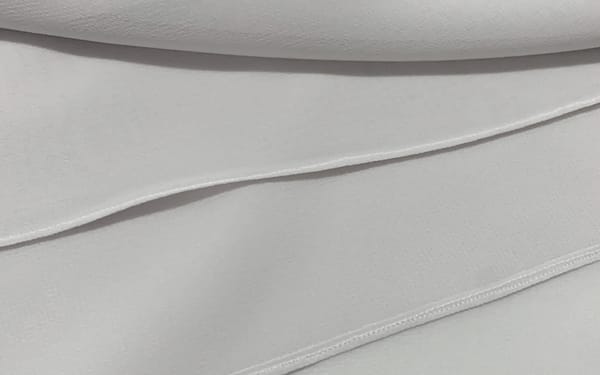
The first rug I made was 100% organic cotton in a lovely white colour. I wanted a simple design that would add a cosy accent to my living room, and the fabric is so, so soft to the touch! I didn't use pre-cut batting to save money, but I have to say I struggled to cut those strips and the result looked a bit uneven. If you prefer a neater result, I definitely recommend using pre-cut batting. It may cost a little more, but it'll save you tons of time and make your life so much easier. I used pre-cut batting to make the other rugs and I never regretted it. It makes sewing so much easier. For the other rugs, I decided to add an accent colour. The fabric is always 100% organic cotton. The neutral fabric is a calico fabric, which makes the rug feel robust and textured. I really enjoy using organic materials, and I'm planning to use them more and more in future projects.
Share Your Work!
Once you’ve finished your jelly roll rug, share your creation on social media by tagging [insert your handle]. I’d love to see your beautiful rugs! Happy sewing!